Step 2: Deploy
Hello again, Application Developer! In this step, we will walk you through what is needed to deploy your application on Elastisys Compliant Kubernetes.
Demo Application Available
In case you are just reading along, or do not already have a containerized application prepared, we have developed a demo application which allows you to quickly explore the benefits of Elastisys Compliant Kubernetes.
The provided artifacts, including Dockerfile and Helm Chart, allow you to quickly get started on your journey to become an agile organization with zero compromise on compliance with data protection regulations.
We have versions of it for Node JS and .NET available. You will note that once built and containerized, they deploy exactly the same.
Push Your Container Images
Configure container registry credentials
First, retrieve your Harbor CLI secret and configure your local Docker client.
- In your browser, type
harbor.$DOMAINwhere$DOMAINis the information you retrieved from your administrator. - Log into Harbor using Single Sign-On (SSO) via OpenID.
- In the right-top corner, click on your username, then "User Profile".
- Copy your CLI secret.
- Now log into the container registry:
docker login harbor.$DOMAIN. - You should see
Login Succeeded.
Create a registry project
Example
Here is an example Dockerfile and .dockerignore to get you started. Don't forget to run as non-root.
If you haven't already done so, create a project called demo via the Harbor UI, which you have accessed in the previous step.
Clone the user demo
If you haven't done so already, clone the user demo:
git clone https://github.com/elastisys/compliantkubernetes/
cd compliantkubernetes/user-demo
Build and push the image
REGISTRY_PROJECT=demo  # Name of the project, created above
TAG=v1                 # Container image tag

docker build -t harbor.$DOMAIN/$REGISTRY_PROJECT/ck8s-user-demo:$TAG .
docker push harbor.$DOMAIN/$REGISTRY_PROJECT/ck8s-user-demo:$TAG
You should see no error message. Note down the sha256 of the image.
Verification
- Go to
harbor.$DOMAIN. - Choose the
demoproject. - Check if the image was uploaded successfully, by comparing the tag's
sha256with the one returned by thedocker pushcommand above. - (Optional) While you're at it, why not run the vulnerability scanner on the image you just pushed.
Deploy Your Application
Pre-verification
Make sure you are in the right namespace on the right cluster:
kubectl get nodes
kubectl config view --minify --output 'jsonpath={..namespace}'; echo
Configure an Image Pull Secret
To start, make sure you configure the Kubernetes cluster with an image pull secret. Ideally, you should create a container registry Robot Account, which only has pull permissions and use its token.
Important
Using your own registry credentials as an image pull secret, instead of creating a robot account, is against best practices and may violate data privacy regulations.
Your registry credentials identify you and allow you to both push and pull images. A robot account should identify the Kubernetes cluster and only be allowed to pull images.
DOCKER_USER='robot$name'       # enter robot account name
DOCKER_PASSWORD=               # enter robot secret
Now create a pull secret and (optionally) use it by default in the current namespace.
# Create a pull secret
kubectl create secret docker-registry pull-secret \
    --docker-server=harbor.$DOMAIN \
    --docker-username=$DOCKER_USER \
    --docker-password=$DOCKER_PASSWORD

# Set default pull secret in current namespace
kubectl patch serviceaccount default -p '{"imagePullSecrets": [{"name": "pull-secret"}]}'
Note
For each Kubernetes namespace, you will have to create an image pull secret and configure it to be default. Aim to have a one-to-one-to-one mapping between Kubernetes namespaces, container registry projects and robot accounts.
Deploy user demo
Example
Here is an example Helm Chart to get you started.
If you haven't done so already, clone the user demo and ensure you are in the right folder:
git clone https://github.com/elastisys/compliantkubernetes/
cd compliantkubernetes/user-demo
Ensure you use the right registry project and image tag, i.e., those that you pushed in the previous example:
REGISTRY_PROJECT=demo
TAG=v1
You are ready to deploy the application.
helm upgrade \
    --install \
    myapp \
    deploy/ck8s-user-demo/ \
    --set image.repository=harbor.$DOMAIN/$REGISTRY_PROJECT/ck8s-user-demo \
    --set image.tag=$TAG \
    --set ingress.hostname=demo.$DOMAIN
Verification
Verify that the application was deployed successfully:
kubectl get pods
# Wait until the status of your Pod is Running.
Verify that the certificate was issued successfully:
kubectl get certificate
# Wait until your certificate shows READY True.
Verify that your application is online. You may use your browser or curl:
curl --include https://demo.$DOMAIN
# First line should be HTTP/2 200
Do not expose $DOMAIN to your users.
Although your administrator will set *.$DOMAIN to point to your applications, prefer to buy a branded domain. For example, register the domain myapp.com and point it via a CNAME or ALIAS record to myapp.$DOMAIN.
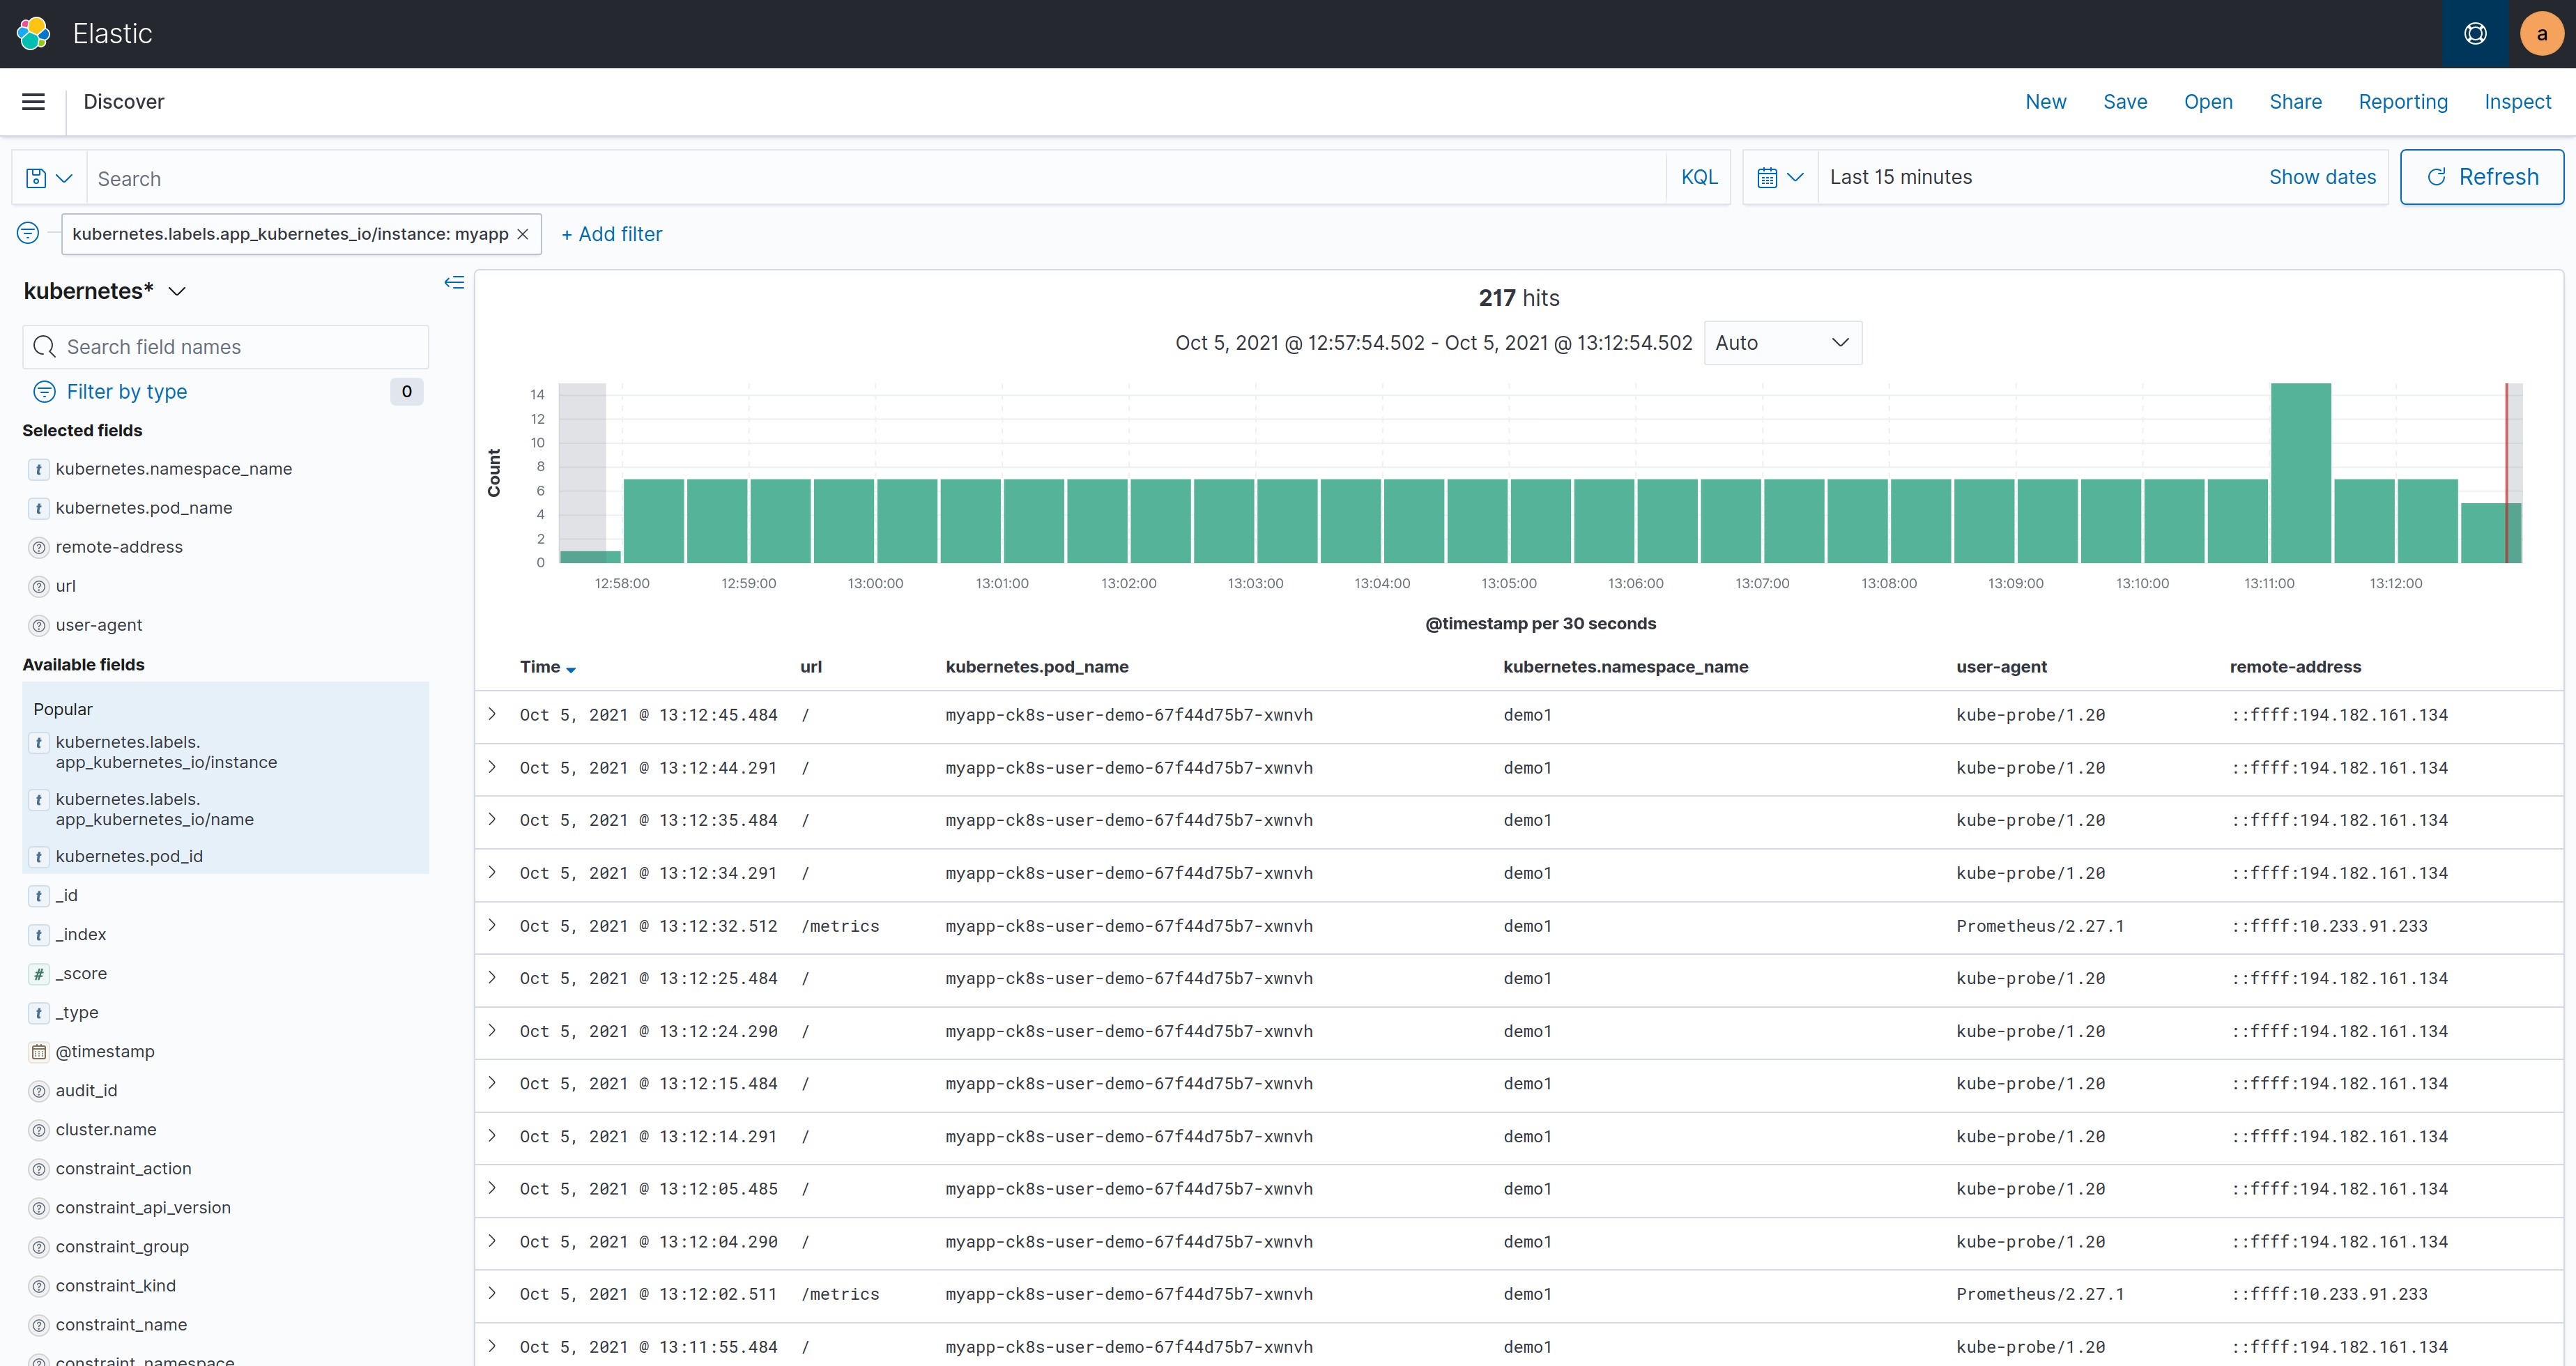
View Application Logs
The user demo application already includes structured logging: For each HTTP request, it logs the URL, the user agent, etc. Compliant Kubernetes further adds the Pod name, Helm Chart name, Helm Release name, etc. to each log entry.
The screenshot below gives an example of log entries produced by the user demo application. It was obtained by using the index pattern kubernetes* and the filter kubernetes.labels.app_kubernetes_io/instance:myapp.
Note
You may want to save frequently used searches as dashboards. Compliant Kubernetes saves and backs these up for you.
Next step? Operating!
Now that you have deployed your containerized application and know how to look at its logs, what's next? Head over to the next step, where you learn how to operate and monitor it!